
Stay on Top of Water Heater Maintenance With These Tasks
Ignoring water heater maintenance leaves you vulnerable to increasing energy costs and a shortened service life before the unit needs to be replaced. Water heating is already the third most energy-intensive household function, coming in just behind heating and cooling. As time goes by, if the heater loses energy efficiency and consumes more gas or electricity, these costs can be expected to rise further.
How Long Will the Water Heater Last?
Water heaters aren’t known for their long service life. Each year, about 8 percent of the installed residential storage tank water heaters in the United States fail and require replacement, according to the Department of Energy. Under most circumstances, a heater will need to be replaced after about 13 years on average. Can you substantially extend expected service life beyond the average with proper water heater maintenance? No one can say for certain. Can you shorten the service life of a water heater by neglecting proper upkeep? Certainly.
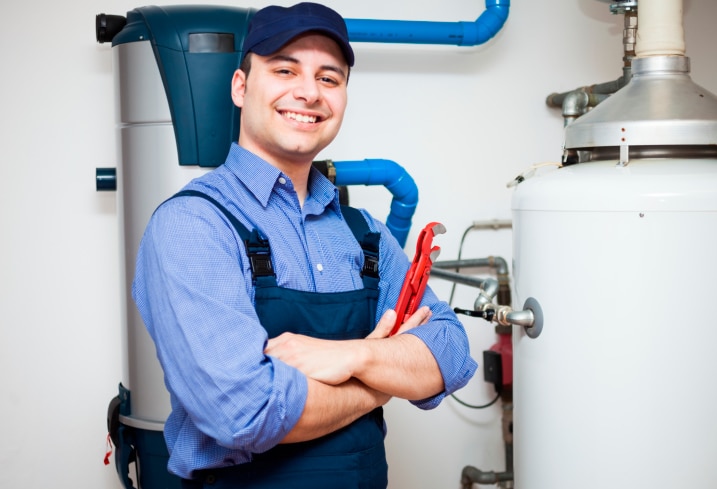
DIY Or Not?
Not all water heater maintenance lends itself to a DIY approach. Certain tasks such as replacing a leaky temperature and pressure relief (TPR) valve or renewing the sacrificial anode that inhibits corrosion inside the tank involve critical components and raise safety issues. These should be left to the expertise of a qualified plumbing professional. However, maintenance issues like testing the TPR valve for proper operation and yearly tank flushing to remove sediment are well within the skill set of the average do-it-yourselfer.
TPR Check
The temperature and pressure relief valve safeguards against excessive internal heat or pressure. Located on the side or top of the heater tank, the TPR valve incorporates a spring-loaded valve with a small handle and a discharge tube that channels released water down to the floor or outside. Over time, TPR valves may begin to leak because of failure to seal or become plugged with mineral deposits. Test the proper operation of your TPR with this simple procedure.
- Place an empty container to catch released water under the end of the discharge tube, then lift the valve handle and hold it open. You should hear water spurt out into the discharge tube, then flow into the container at the end of the discharge tube.
- Let the valve snap shut. Water should stop flowing into the discharge tube and container. Observe it for a few moments to see if any residual dribbling continues.
- If no water is emitted when the TPR valve is opened or if the valve continues to leak after it is closed, contact a plumber for a replacement valve.
Tank Flushing
Mineral sediment that accumulates at the bottom of the tank is a primary cause of high water heating costs. Sediment in the tank makes it more difficult for the burner to heat water and uses more gas. If left in place, sediment also gradually solidifies, triggering corrosion and early tank failure and replacement due to leakage. You can help avoid these negative complications with an annual tank flush.
- Turn off gas to the heater at the gas valve. For an electric unit, cut off power at the circuit breaker.
- Shut the cold water inlet valve on the top of the unit.
- Connect a garden hose to the threaded drain faucet at the bottom front of the tank. Place the other end of the house outside.
- Open the tank drain faucet. As drainage begins, lift the handle on the TPR valve to vent the tank and speed draining.
- When the tank is empty, open the cold water inlet valve and let water flow in as it drains to generate a flushing action for a few moments.
- Close the cold water inlet valve and the tank drain faucet, and disconnect the garden hose.
To learn more about proper water heater maintenance, check out Custom Mechanical’s professional plumbing services or call 877-696-0808.